File Menu
Ctrl+N New WindowOpen a new document window
Ctrl+O Open…Open a .ds3 file
Ctrl+S SaveSave current document
Save As…Save to a new file
Save AllSave all open documents
Export as OBJ…Wavefront OBJ
Export as GLB…glTF binary
Export as FBX…Autodesk FBX
Export as GLB and WAVs…GLB + per-bone WAV files
Export as FBX and WAVs…FBX + per-bone WAV files
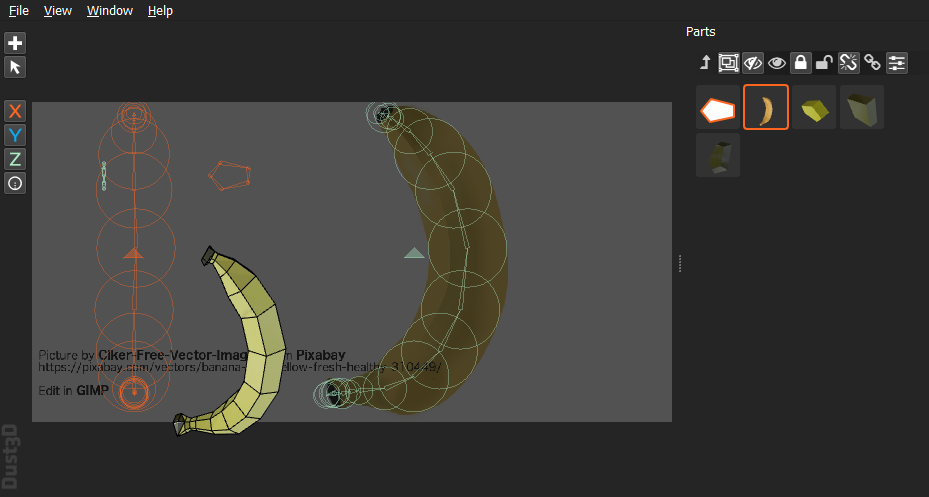
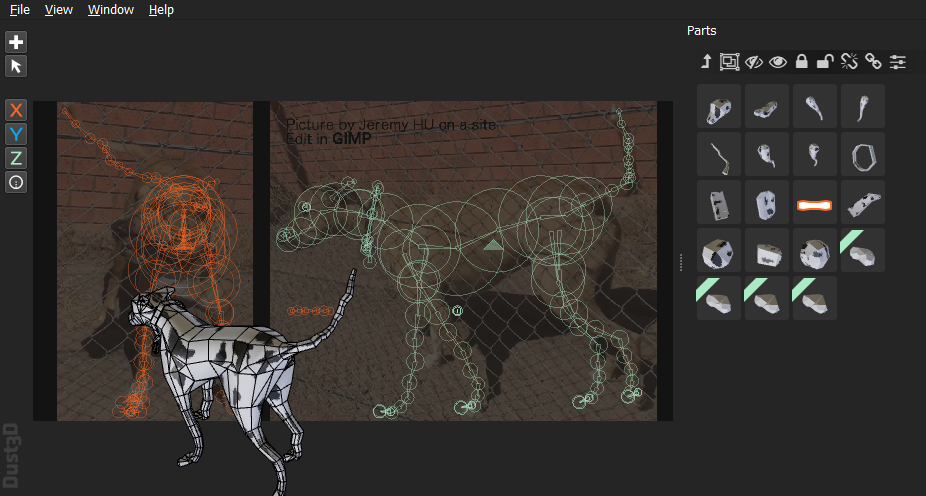
Change Background Image…Set front/side reference image
Erase Background ImageRemove reference image
Ctrl+Q QuitExit the application
View Menu
Toggle WireframeShow/hide wireframe overlay
Toggle RotationStart/stop auto rotation
Toggle ColorColor vs. monochrome render
Window Menu
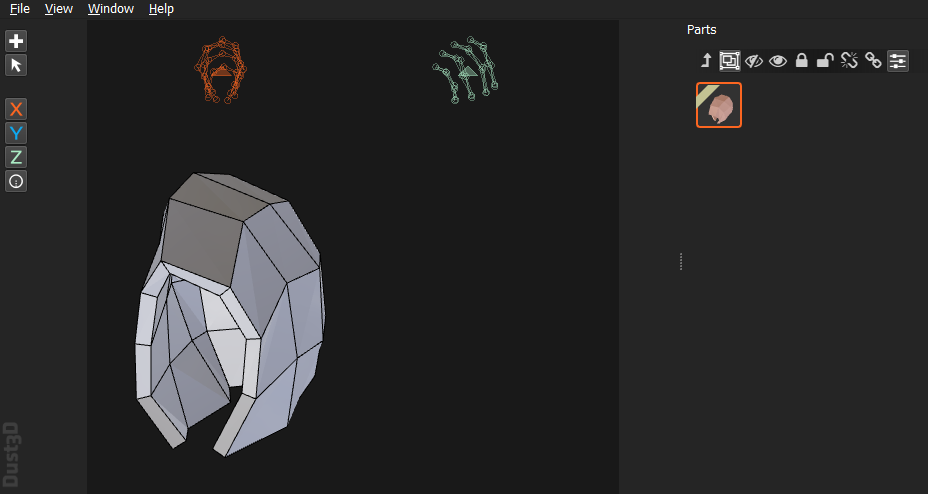
PartsShow the Parts panel
BonesShow the Bones panel
AnimationsShow the Animations panel
DialogsList and re-raise open dialogs
DebugOpen the debug log browser
Canvas Context Menu (right-click canvas in Select mode)
Add…Switch to Add mode
Undo / RedoUndo or redo last action
DeleteDelete selected nodes/edges
BreakInsert node into selected edge
ReduceReduce selected nodes
ReverseReverse selected edge direction
ConnectConnect two selected nodes
Cut / Copy / PasteClipboard operations
H Flip / V FlipFlip selection horizontally / vertically
Rotate 90D CW / CCWRotate selection 90°
Rotate 90D Around Z-AxisRotate side-profile nodes around Z
Rotate 90D Around X-AxisRotate main-profile nodes around X
Switch XZSwap X and Z coordinates
Align To › Local CenterAlign to local center
Align To › Local V / H CenterAlign to local vertical / horizontal center
Align To › Global CenterAlign to global center
Align To › Global V / H CenterAlign to global vertical / horizontal center
Colorize › Blank / Auto ColorRemove or auto-assign color
Select All / Part / Unselect AllSelection helpers
Parts List Context Menu
Make groupGroup selected into a folder
UngroupDissolve selected group
Move To › Begin / EndJump to top or bottom of list
Move To › Previous / NextMove one step up or down
Convert to ModelChange target to regular mesh
Convert to Cut FaceUse as custom cross-section
Convert to Stitching LineUse as stitching line
DeleteRemove selected components
Bones List Context Menu
Clear AssignmentsRemove edge assignments from bone
Clear Chain AssignmentsRemove assignments from bone chain
Return / EnterAssign selected canvas edges to bone