Dust3D - Model Complete (Draft)

Shortcuts

ShortcutDescription
Transformation
[ (Bracket Left)Scale down (Distance between nodes)
] (Bracket Right)Scale up (Distance between nodes)
- (Minus)Scale down (Node radius)
= (Equal)Scale up (Node radius)
, (Comma)Rotate counterclockwise
. (Period)Rotate clockwise
Movement
LeftMove to the left
RightMove to the right
UpMove upwards
DownMove downwards
Select
ESwitch selected profile from front to side, and side to front
FSelect hovered node's part on Parts list
HShow/Hide selected nodes
Render
WToggle wireframe

Examples

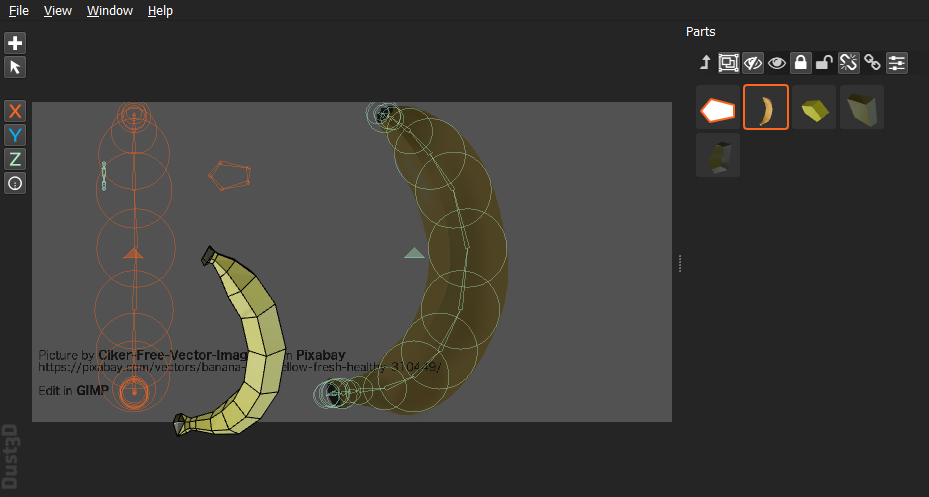
Fruit - Banana

Key Steps

  1. Draw four nodes on canvas in circle
  2. Right click on the part from Parts list, then choose Convert to Cut Face
  3. Draw several nodes on canvas in a tube shape
  4. Double click the tube shape to select it in Parts list
  5. Click the configure properties icon from Parts list
  6. Select the Cut Face icon to fill the tube shape

Attachments


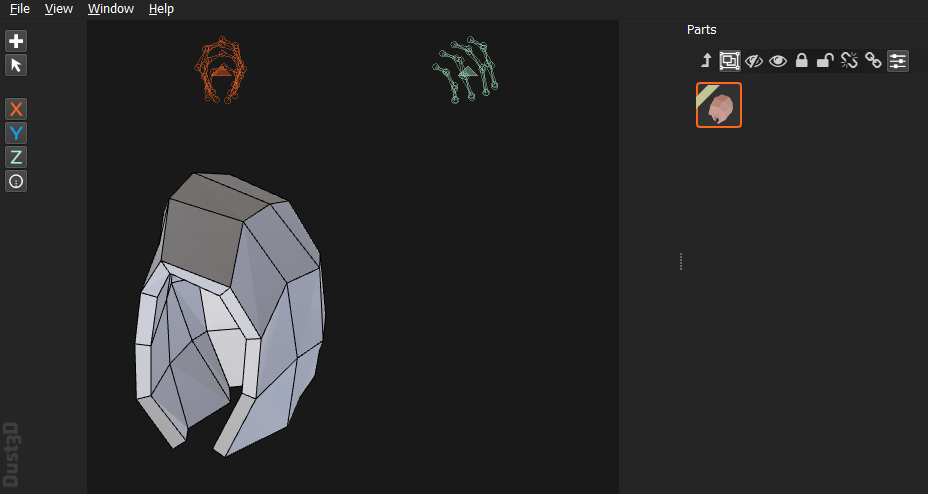
Clothes - Hat

Key Steps

  1. Draw five spines on canvas
  2. Select all parts from Parts list
  3. Right click and select Convert to Stitching Line
  4. Right click again and select Make group
  5. Click the configure properties icon from Parts list
  6. Check box: Back closed
  7. Update Target Segments: 7

Attachments


Animals - Dog

Key Steps

  1. Take a front photo of dog
  2. Take a side view of dog
  3. Menu: File >> Change Background Image... >> Select both front and side images
  4. Draw nodes according to the background reference image
  5. Select all parts from Parts list
  6. Click the configure properties icon from Parts list
  7. Choose texture image

Attachments


Others


To be continued